
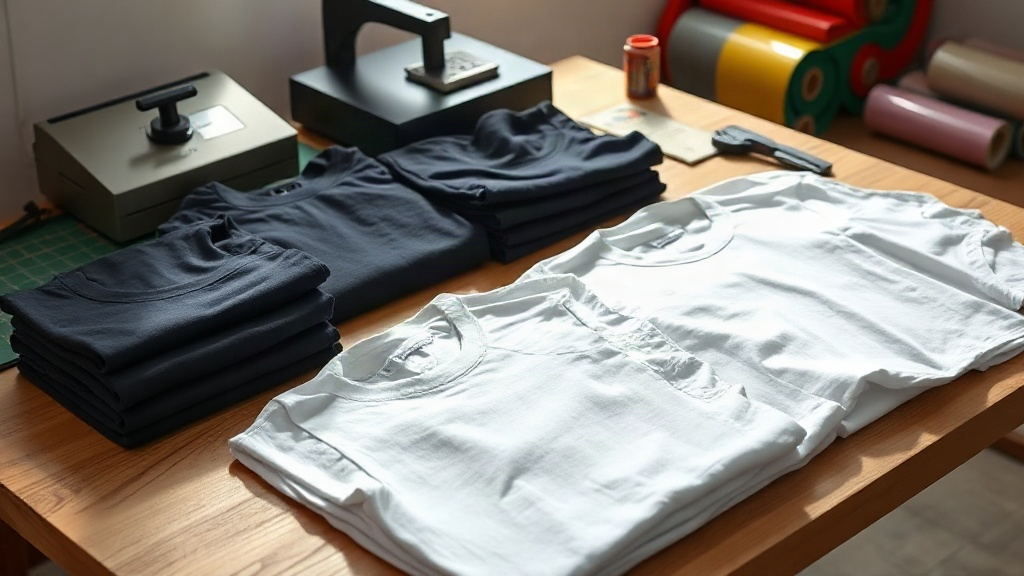
Creating custom shirts is one of the most rewarding DIY projects you can take on. Whether you want to make a personalized gift, promote your brand, or simply express your style, printing your own designs onto blank apparel gives you complete control over the final product. In this guide, I'll walk you through everything you need to know to get started, from selecting the right blank shirt to choosing the best printing method for your needs.
Why Make Custom Shirts?
There's something special about wearing a shirt you designed yourself. It's not just about saving money compared to professional printing services; it's about the creative freedom and the satisfaction of wearing something truly unique. Over the years, I've made dozens of custom shirts for family reunions, small business promotions, and even just for fun. Each project taught me something new, and now I want to share those lessons with you.
Custom shirts also make fantastic gifts. A personalized shirt for a birthday, anniversary, or holiday shows thoughtfulness that store-bought items can't match. Plus, if you're running a small business or a community group, custom apparel can help build a sense of identity and belonging.
Choosing the Right Blank Shirt
The foundation of any great custom shirt is the blank itself. Not all blanks are created equal, and the right choice depends on your printing method, budget, and intended use.
Fabric and Weight
Cotton is the most popular choice for custom shirts because it's soft, breathable, and takes ink well. However, consider the weight: lighter fabrics (around 4-5 oz) are great for summer, while heavier weights (6 oz and up) feel more premium and durable. For a classic tee, a 100% cotton ring-spun shirt offers a smooth surface that's ideal for detailed prints.
Blends and Performance Fabrics
Cotton-poly blends are wrinkle-resistant and often cheaper, but they can affect how some inks adhere. Polyester performance shirts are excellent for athletic wear, but they require special inks or transfers designed for synthetic materials. Always test your printing method on a sample before committing to a large order.
Size and Fit
Fit matters. A shirt that's too tight or too loose won't be worn, no matter how cool the design. Order samples in different sizes to find the cut that suits your audience. Many suppliers offer unisex, women's, and youth sizes, so you can cater to everyone.
Popular Printing Methods for Custom Shirts
Once you have your blanks, it's time to choose a printing method. Each has its strengths and weaknesses, so consider your design complexity, quantity, and budget.
Heat Transfer Vinyl (HTV)
HTV is a great starting point for beginners. You cut your design from a sheet of vinyl using a cutting machine (like a Cricut or Silhouette), then apply it to the shirt with a heat press or iron. It's perfect for simple, single-color designs and small batches. The upfront cost is low, and you can achieve professional-looking results with a bit of practice.
Screen Printing
Screen printing is the gold standard for large orders. It involves creating a stencil (screen) for each color in your design, then pushing ink through the screen onto the fabric. The setup can be time-consuming and requires some equipment, but once you're set up, you can produce shirts quickly and cost-effectively. It's ideal for bold, high-contrast designs.
Direct-to-Garment (DTG) Printing
DTG printing works like a specialized inkjet printer that prints directly onto the shirt. It's excellent for full-color, detailed designs and requires no setup between shirts. However, the ink can be less durable on dark fabrics, and the printer itself is a significant investment. For small businesses or artists, DTG offers flexibility for one-off designs.
Sublimation
Sublimation is a bit different: the ink turns into gas when heated and bonds with polyester fibers. This means the design becomes part of the fabric and won't crack or peel. It's perfect for all-over prints and vibrant colors, but it only works on light-colored polyester or specially coated blanks. If you're making athletic wear or all-over patterned shirts, sublimation is worth exploring.
Designing Your Custom Shirts
Great designs start with a clear idea. Whether you're a seasoned graphic designer or a complete novice, these tips will help you create artwork that looks good on a shirt.
- Keep it simple: Bold, simple graphics often read better from a distance than intricate details.
- Consider the shirt color: Light designs on dark shirts need a white underbase for screen printing, while dark designs on light shirts are more straightforward.
- Mind the placement: The standard front print area is about 12 inches wide by 14 inches tall, centered on the chest. Left chest prints are typically 3-4 inches wide.
- Use vector software: Programs like Adobe Illustrator or free alternatives like Inkscape create scalable designs that won't pixelate.
- Proof before printing: Print your design on paper first to check size and placement.
If you're not confident in your design skills, many online tools offer templates and clipart. But remember, original designs make your custom shirts truly one-of-a-kind.
Step-by-Step: Making Your First Custom Shirt with HTV
Let's walk through a simple project using HTV, which is the most accessible method for beginners.
- Choose your design: Start with a single-color, simple shape or text. Remember to mirror your design if you're using iron-on vinyl.
- Cut the vinyl: Place the vinyl sheet on your cutting mat, load it into your cutting machine, and cut according to your design. Use the appropriate settings for the vinyl type.
- Weed the excess: Use a weeding tool to remove the negative space around your design, leaving only the desired shape on the carrier sheet.
- Preheat the shirt: Set your heat press to the temperature recommended by the vinyl manufacturer (usually around 300-320°F). Prepress the shirt for a few seconds to remove moisture.
- Apply the design: Place the vinyl on the shirt with the carrier sheet facing up. Press for the recommended time (usually 10-15 seconds) with firm pressure.
- Peel and cool: Wait for the vinyl to cool (or peel while warm, depending on the type), then remove the carrier sheet. Your custom shirt is ready!
With practice, you can complete a shirt in under 10 minutes. I still remember my first HTV shirt; the vinyl was slightly off-center, but it was a proud moment that sparked a lasting hobby.
Common Mistakes to Avoid
Even experienced makers slip up sometimes. Here are a few pitfalls I've encountered and how to avoid them.
- Not prewashing: Always wash and dry your blank shirt before printing to prevent shrinkage and remove sizing that can interfere with adhesion.
- Using too much heat: Excessive heat can scorch the fabric or melt vinyl. Always follow the manufacturer's guidelines and test on a scrap piece.
- Insufficient pressure: For HTV and DTG, even pressure is crucial for a durable bond. If using an iron, press down firmly with your body weight.
- Ignoring fabric content: Sublimation won't work on cotton, and some vinyls don't adhere well to polyester. Match your method to the material.
- Rushing the peel: Peeling too early or too late can ruin the design. Know whether your vinyl is hot or cold peel and wait accordingly.
Washing and Caring for Your Custom Shirts
To keep your creations looking fresh, turn them inside out before washing and use cold water. Avoid fabric softeners, which can break down adhesives and inks. Tumble dry on low or hang dry. With proper care, a well-made custom shirt can last for years.
Frequently Asked Questions
What is the best printer for making custom shirts at home?
For home use, a dedicated DTG printer is the most convenient but expensive. Alternatively, a heat press combined with a cutting machine for HTV offers a low-cost entry point. If you plan to do high volumes, consider a screen printing kit.
Can I print custom shirts without a heat press?
Yes, you can use a regular iron for HTV, but results may vary. A heat press provides consistent temperature and pressure, which leads to more durable prints. For occasional projects, an iron can work with careful technique.
How do I make custom shirts for a small business?
Start with a few samples to test designs and methods. Choose a printing method that balances cost and quality for your expected order size. For small batches, HTV or DTG are practical; for larger runs, screen printing becomes more economical.
What type of shirt is best for screen printing?
100% cotton shirts with a smooth, tight weave work best for screen printing. Ringspun cotton offers a soft feel and good ink coverage. Avoid heavily textured or loose-knit fabrics.
How long do custom shirt prints last?
With proper care, screen-printed and DTG prints can last 50+ washes. HTV typically lasts 20-30 washes. Sublimation prints last as long as the fabric itself. Always follow care instructions to maximize longevity.
Making custom shirts is a journey of creativity and craftsmanship. Whether you're making one for yourself or a hundred for an event, the process is rewarding. Start with quality blanks, choose a method that fits your needs, and don't be afraid to experiment. Before you know it, you'll have a wardrobe full of personalized apparel that you'll be proud to wear.